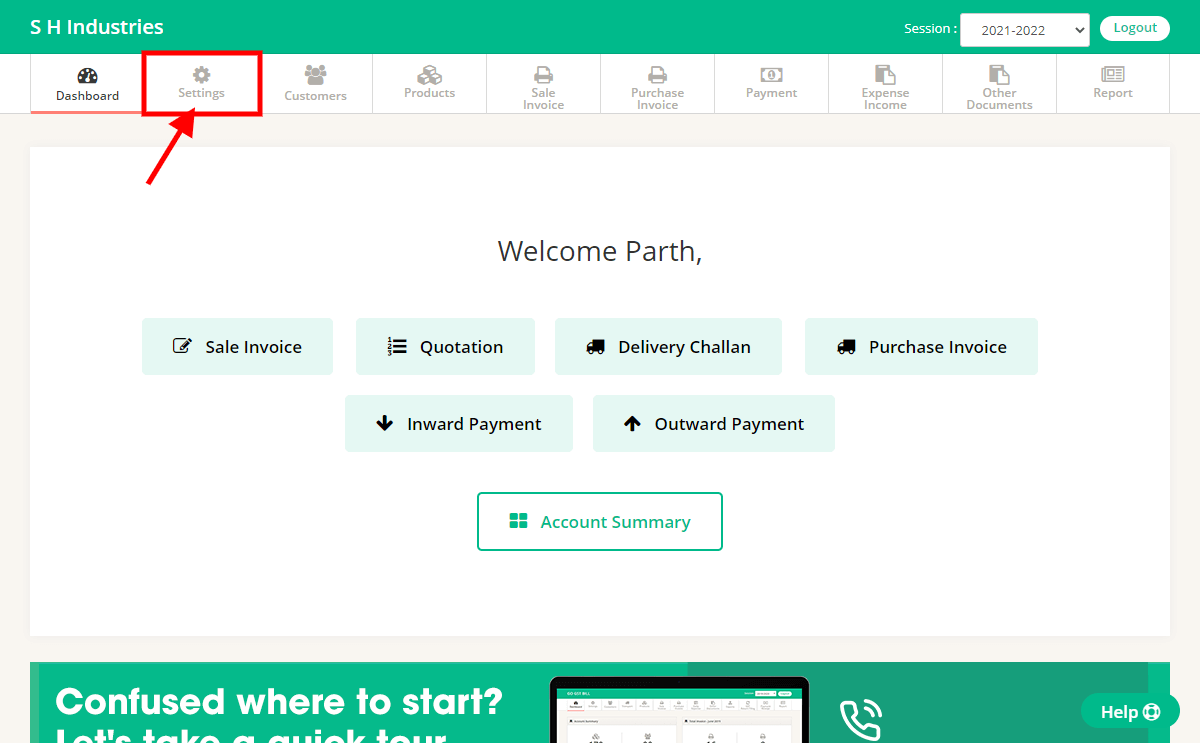
Step 1 : Go to Settings Page
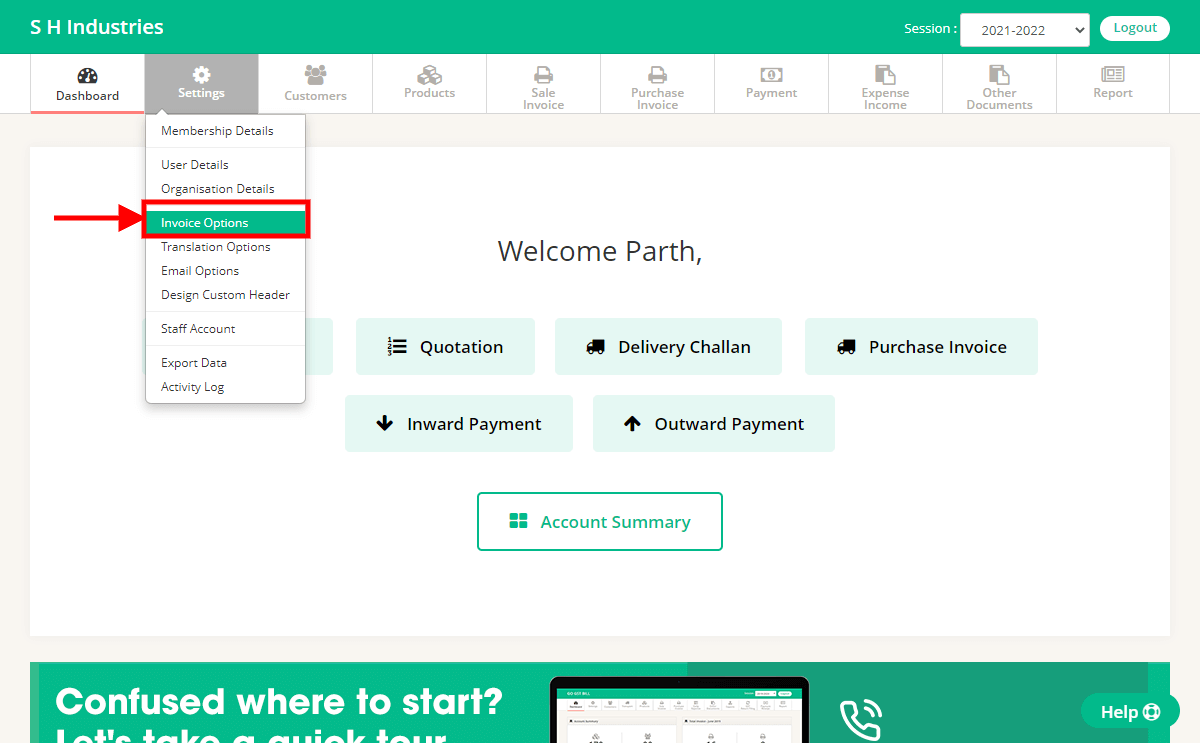
Step 2 : Click on “Invoice Options” menu.
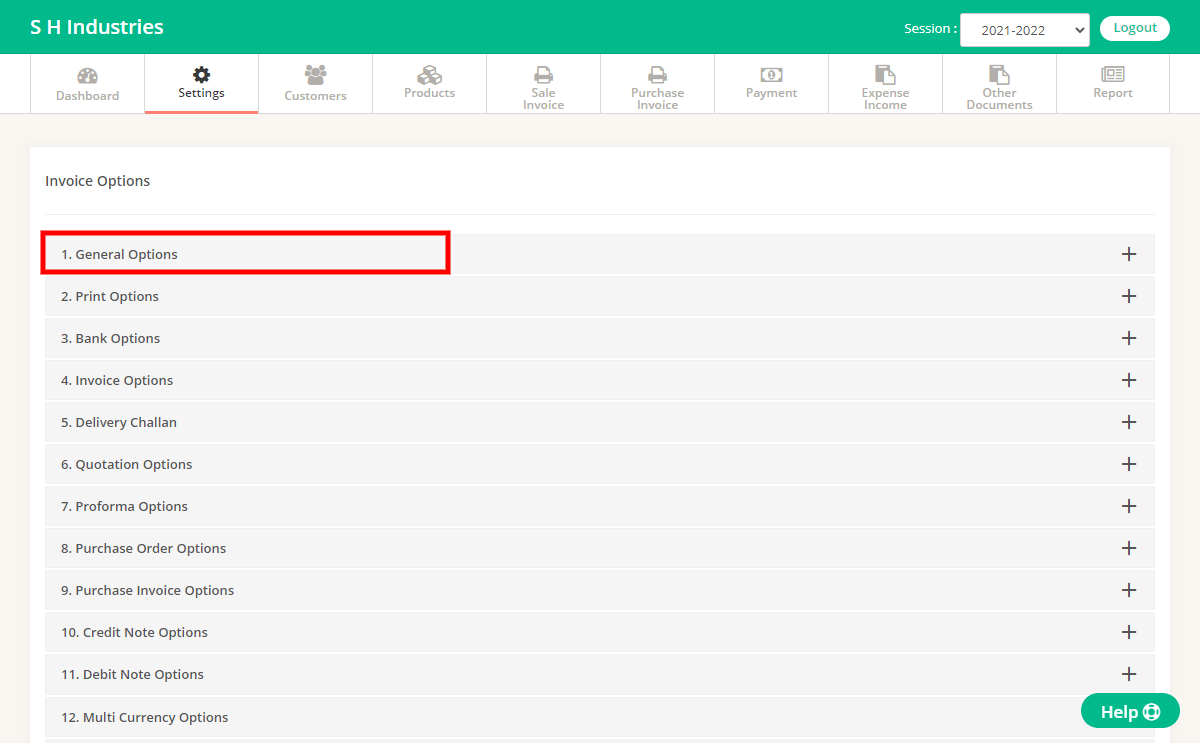
Step 3 : Click on “General Options”.
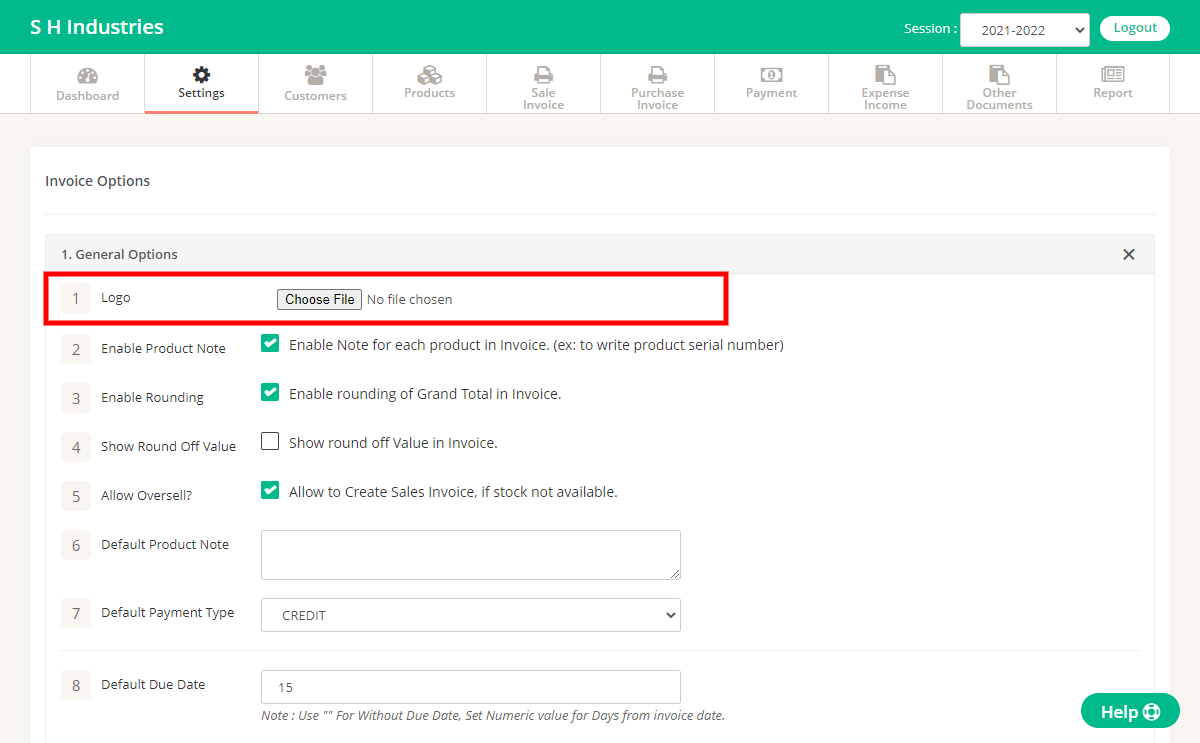
Step 4 : On that same page you will get an option with label “Logo”, You can upload Logo image file with .jpg format to use on invoice print
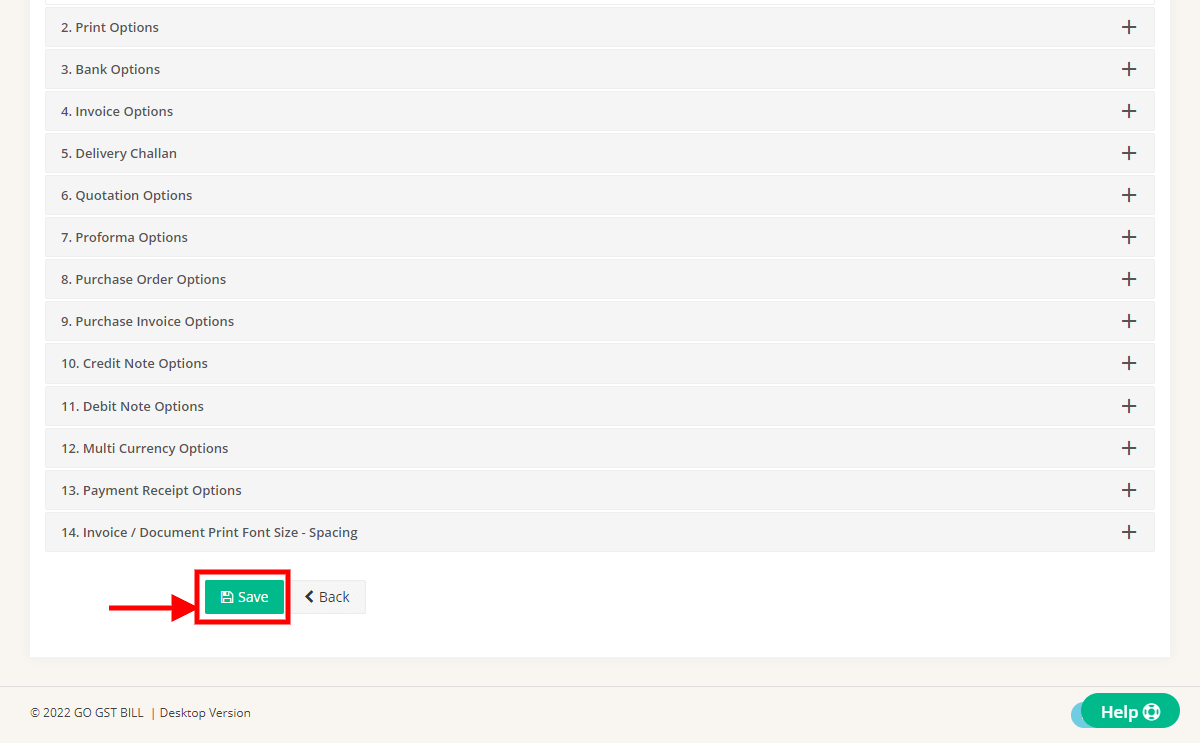
Step 5 : After Editing Options Click On Save Button at end of page
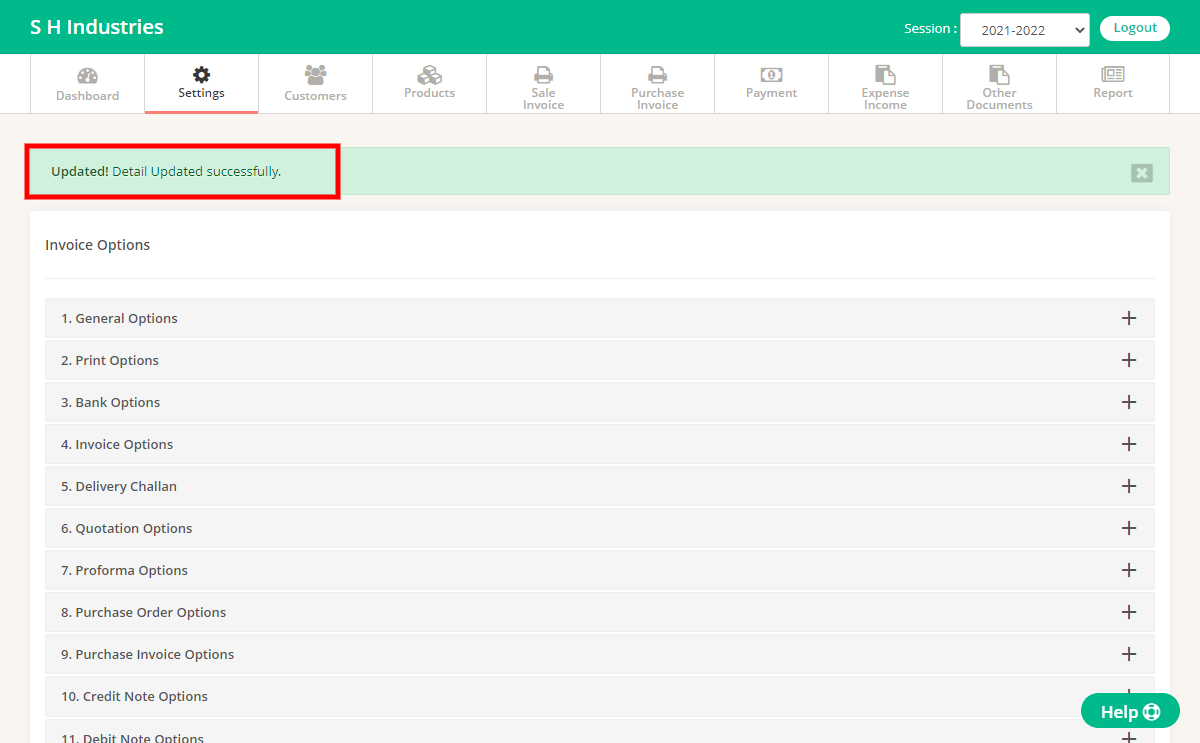
Step 6 : You can see Message on Next page For Details Updated.
Was this helpful?
Thanks for your feedback!
